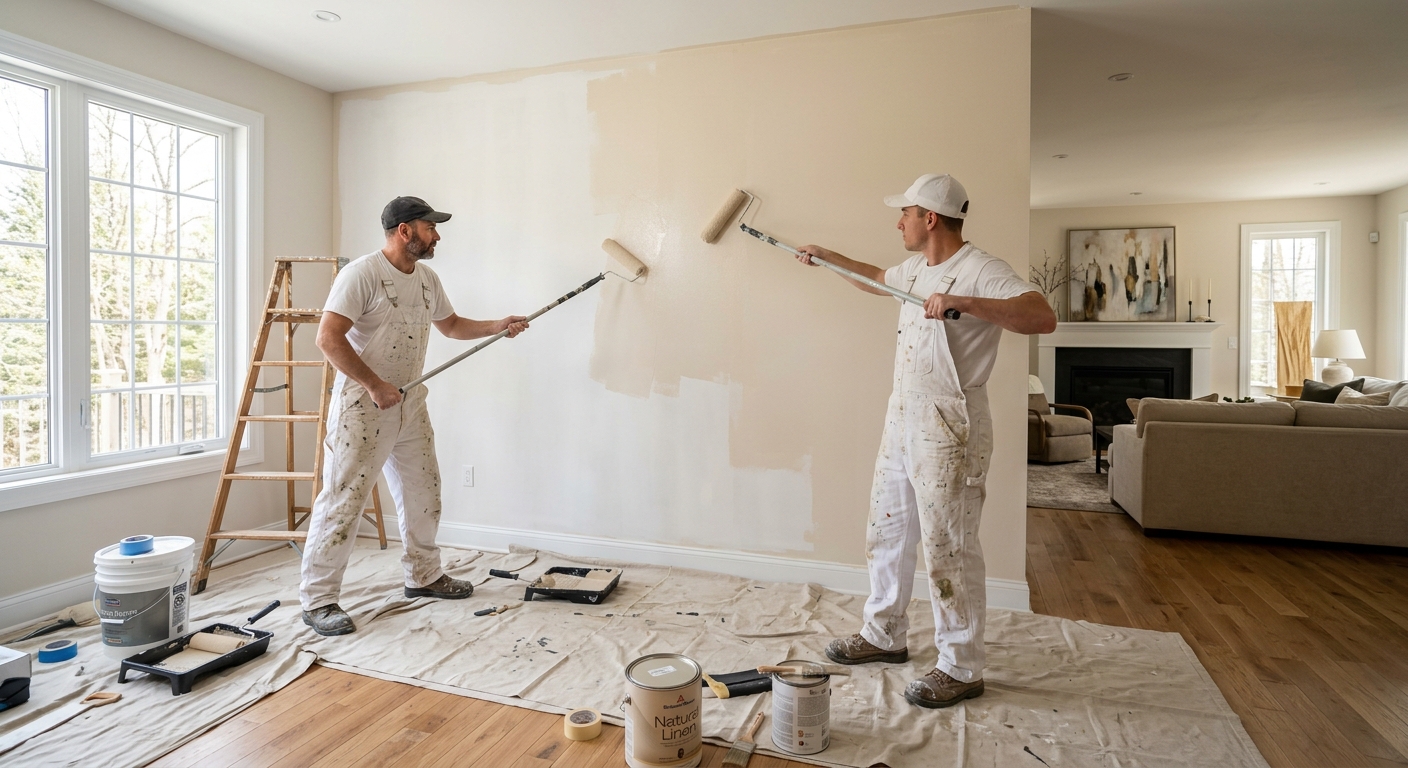
Painting options and costs in Maple Leaf
Maple Leaf, Ontario is a practical place to plan a paint refresh because the local housing mix is busy and detailed work is common. With 10,111 residents in 2021 (Statistics Canada, 2021 Census), you’ll often see availability concentrated into the same summer windows, so booking early matters—especially for exterior projects. Just as important, Toronto-area neighbourhoods include many older properties, and in repainting work the prep stage (scraping, sanding, patching, caulking, priming, and sometimes lead-safe handling for pre-1978 surfaces) can become the biggest portion of the bill.
In the GTA, exterior painting is tightly season-dependent. Contractors typically work late May through June, then again around September into mid-October when temperatures stay above about 10°C for proper application and curing. In June to August, peak demand can push pricing up roughly 10–15% compared with shoulder-season availability, because rain or humidity spikes can force delays. Interior work is less weather-bound, but labour still varies with ceiling height, stairwells, masking, occupancy, and desired finish level.
In Maple Leaf, areas with more older homes and denser streets—like the “main strip” pockets around local retail corridors—tend to see steady repaint requests for both interiors and exteriors. The next step is matching your scope to a realistic budget range, and using the table below to compare apples to apples.
| Service |
What's Included |
Typical Duration |
Price Range |
| Interior — whole home (walls, ceilings, trim) |
Protect floors and fixtures, prep and patch, prime where needed, paint walls/ceilings, caulk trim gaps, and paint doors/trim to a consistent finish |
5–10 days |
$2,000 – $6,000 |
| Interior — per room (standard bedroom or living room) |
Prep, patching, spot-prime, paint walls and one ceiling, tape/mask transitions; trim painting optional unless requested |
1–3 days |
$400 – $1,500 |
| Exterior — full house (siding, trim, soffits) |
Power wash, scrape/sand failing areas, caulk joints, prime bare spots, paint siding/trim/soffits; includes basic protection of landscaping |
1–3 weeks (staged) |
$3,000 – $8,000 |
| Exterior — trim and accent colours only |
Surface prep on trim areas, caulking where accessible, prime bare spots, paint accents; typically excludes full siding repaint |
3–7 days |
$1,500 – $4,500 |
| Kitchen cabinet painting (doors, frames, spray finish) |
Degrease and de-hardware, sand and prime, spray or roll finish, replace/adjust hardware, final touch-ups and light protection of surrounding surfaces |
5–12 days |
$1,200 – $4,000 |
| Specialty / faux finish (accent wall, texture) |
Specialty surface prep, primer suited to the texture system, application of the faux/texture finish, sealing where required |
2–6 days |
$300 – $5,000 |
Prices are estimates only and vary by project scope, site access and material selection.
What affects the price of painting in Maple Leaf
In Maple Leaf and across the wider Toronto market, the same “paint the same size house” request can land 30–50% apart between quotes. The driver is usually labour—especially prep—and then secondarily the product system and access. When an exterior job is weather-impacted, scheduling friction increases contractor costs. The GTA’s exterior season is limited: late May to early October is when temperatures stay above about 10°C for proper application and curing. Peak summer demand (June to August) can push costs up 10–15% because ideal drying windows are scarce. By contrast, coastal BC has longer but wetter conditions that change product selection; in the GTA the constraint is more about rain, frost risk, and humidity spikes rather than permanent damp.
Another major cost swing comes from older housing stock. Pre-1980 homes often need more work—more scraping, sanding, caulking, and priming—because you’re correcting cracks, failed coatings, and uneven adhesion. In a repaint, surface preparation can be 50–70% of total labour. To put dollars on it: if you’re looking at an exterior repaint that sits around the $3,000 – $8,000 band, it’s common for prep to consume much of that range. Interiors can swing too: a simple room refresh might land closer to the $400 – $1,500 per-room band, but adding ceiling work, patching, and full trim painting moves it toward the upper end.
Concrete Maple Leaf examples: (1) peeling trim or old caulk lines often require extra scraping and priming before any topcoat, (2) multi-storey facades can mean scaffolding or lifts, and (3) switching from a contractor-grade to a premium paint system can increase material cost, but it won’t fix poor prep—so you want both accounted for in the quote.
| Price Factor |
Why It Matters |
Cost Impact |
| Surface prep — scraping, sanding, patching drywall or wood |
Poor prep causes early peeling, flashing, and adhesion failure; labour scales with defects and existing coatings |
Can be 50–70% of repainting labour |
| Number of coats — 2-coat system over primer vs. 1 coat over existing |
Coverage and durability depend on correct build; “one coat” usually fails faster on stains or bare patches |
Typical ±10–25% depending on condition |
| Paint quality tier — contractor-grade vs. premium (Benjamin Moore, Sherwin) |
Higher-quality systems often cover better and resist scuffing and colour change, especially for trim |
Material uplift; labour usually unchanged unless coverage differs |
| Ceilings and trim — adds significant time vs. walls-only |
Edge work, caulking, cutting-in, and detail painting take longer than open wall coverage |
Commonly adds 15–40% to interior scope |
| Exterior season window — short season raises summer rates |
Contractors compress schedules into limited drying weeks, increasing overhead and rescheduling risk |
Often 10–15% higher in June–August |
| Lead-safe precautions — required for pre-1978 homes with lead paint |
Professional lead-safe work uses wet methods, HEPA vacuuming, and proper disposal to reduce exposure |
Can add noticeable labour time on affected areas |
| Surface material — drywall vs. plaster vs. wood vs. stucco |
Different substrates need different primers and adhesion prep for best results |
Varies; stucco/wood usually higher due to repair/primer |
| Height and access — multi-storey exterior requires scaffolding or lifts |
Access affects safety, setup time, and how thoroughly prep can be completed |
Can add hundreds to over a thousand dollars |
Permits & regulations in Ontario
In Ontario, you generally do not need a permit to paint interior or exterior surfaces on a home. For health and safety, though, homes built before 1978 are where best practice matters most: guidelines recommend testing for lead paint before sanding, scraping, or aggressive removal. If lead is present, professionals use lead-safe work practices such as wet methods to reduce dust, HEPA vacuuming, and proper disposal of materials. For homeowners, this is not typically a “permit requirement,” but it is the standard contractors follow because it protects people and helps meet workplace expectations.
What does require a permit in most cases? Painting itself usually does not trigger permits, but related work can. If your project involves structural changes, electrical (e.g., rewiring), plumbing, window/door replacements, or permits for major exterior alterations, those activities fall under building or other local processes rather than “painting.”
For Maple Leaf homeowners, verify three things step-by-step before signing: (1) Ontario licence/registration status where applicable for the trade (ask the contractor for their business details and any registration information), (2) liability insurance—request a current certificate of insurance showing the job address or coverage period, and (3) WSIB/WCB coverage for workers. Then insist on a written contract that states the paint brand (or equivalent), sheen, number of coats, surface prep included, and what protection/disposal is part of the scope.
Interior vs exterior painting — getting the best result in Maple Leaf
In Maple Leaf and the broader Toronto climate, paint longevity depends less on “brand prestige” and more on whether the surface prep and coating system match the job. For interiors, the biggest longevity factor is filling, sanding, and priming. Even on a fresh-looking wall, patching and priming correct inconsistent absorption that can cause flashing (shade variation). Sheen choice matters by room: flat or matte can hide wall imperfections in low-traffic areas, eggshell is a practical compromise for living rooms and bedrooms, satin or eggshell is usually better for hallways, and semi-gloss is typically reserved for trim and doors because it wipes clean. Two coats over a properly primed surface generally outlasts one thick coat—especially in kitchens and bathrooms where scuffs and moisture cycling are common.
For exteriors, Ontario’s freeze-thaw cycles and humidity spikes mean prep and caulking come first. You need caulking done before painting to prevent water ingress behind trim and joints, and primer selection must match substrate (for instance, oil-based primer is sometimes used for certain problem adhesion or stain-blocking scenarios). In Maple Leaf, timing matters too: exterior work is commonly planned for late May to June and again from September into mid-October, when temperatures are above about 10°C for curing and adhesion.
Cabinet painting is a smart alternative to replacement when your boxes and doors are structurally sound. If you’re budgeting, exterior work can be higher due to labour and staging, while cabinets can still deliver a major visual refresh within a contained scope. For example, upgrading interior trim and doors in a whole-home refresh might be justified as part of a full $2,000 – $6,000 interior project, but “touching up” exterior trim only can look cost-effective while skipping siding prep—just make sure the prep plan is included.
| Project Type |
Key Prep Step |
Recommended Coats |
Price Band |
| Interior — fresh drywall (new construction) |
Prime bare drywall and fill/skim seams, sand smooth, spot-prime repairs |
1 primer + 2 finish coats |
$1,500 – $4,500 |
| Interior — repaint (good condition, no repairs) |
Light scuff-sand, clean and degrease, tape/mask, caulk small gaps |
1–2 finish coats depending on colour change |
$400 – $2,500 |
| Interior — repaint (patching and priming needed) |
Patch and sand, then prime repaired areas to stop flashing |
Primer spots + 2 finish coats (full-room or per elevation) |
$700 – $3,500 |
| Exterior siding (wood or fibre cement) |
Scrape failing areas, sand edges, caulk joints, prime bare substrate, then topcoat |
Primer where required + 2 topcoats |
$3,000 – $8,000 |
| Exterior trim and accents only |
Surface prep on trim edges, caulk, spot-prime to prevent bleed/peeling |
Spot prime + 2 finish coats on trim |
$1,500 – $4,500 |
| Kitchen cabinets (spray finish) |
Dedegrase, sand, prime correctly, and control dust for a smooth film |
1 prime + 2 finish coats (system-dependent) |
$1,200 – $4,000 |
How to choose a painting contractor in Maple Leaf
Start by verifying Ontario compliance and coverage. Ask for (1) their business registration/licence details (if applicable to their contracting model), (2) liability insurance certificate naming you as an additional insured where possible, and (3) WSIB/WCB workers’ compensation coverage for employees. You can confirm the certificate is current (expiry dates) and that the coverage is not general-only—request a COI for the project timeframe. Next, get 2–3 itemised written quotes. A good quote lists labour and materials separately or at least breaks down prep hours, number of coats, priming included, and protective/disposal tasks—so you can compare scope rather than just totals.
Read the scope line-by-line: what’s excluded (e.g., lead-safe testing, ladder work on upper trim, replacement caulking on inaccessible joints), whether permits are required (usually painting isn’t), and whether disposal of paint waste and debris is included. A serious contractor provides a workmanship warranty (often in the 1–5 year range depending on scope and coating system), clarifies manufacturer warranty coverage for specific products, and tells you whether the warranty is transferable. Payment schedule matters: never pay more than about 10–15% upfront. Hold back the remainder until the final walkthrough is complete and you’ve confirmed touch-ups.
Finally, timeline should be written: a start date target and a realistic completion estimate, with weather contingency for exterior work in Maple Leaf’s short ideal window.
- Request a written scope that specifies paint brand/system and sheen for each surface (walls, ceilings, trim).
- Confirm the number of coats and where primer is required (bare wood, patched drywall, stain-blocking).
- Ask for a surface prep checklist: scraping, sanding, patching, caulking, cleaning/degreasing.
- Check insurance: liability certificate current and specific coverage details for the job period.
- Verify WSIB/WCB coverage for workers (ask for documentation, not just a verbal claim).
- Insist on dust and protection plan (masking quality, floor protection, ventilation for interiors).
- For pre-1978 homes, ask how they handle lead-safe precautions if sanding/scraping is required.
- Clarify disposal and cleanup: waste handling, paint can disposal, and final site sweep.
- Get the start date and completion target in writing; confirm how rain delays are handled for exteriors.
- Ask about surface repairs: will they re-sand and feather edges after caulking/patching?
- Confirm warranty length and what voids it (e.g., homeowner damage, incorrect cleaning products).
- Keep payment conservative: no large deposits; final payment after walkthrough and sign-off.
In Maple Leaf, red flags include: quotes that skip surface prep details, “one-coat” promises on repaints, refusal to provide an insurance certificate or WSIB/WCB proof, vague warranty wording (“we’ll try”), and payment schedules asking for large upfront deposits without a clear start plan.
Frequently asked questions — painting in Maple Leaf
Do I need to worry about lead paint in an older Maple Leaf home?
If your Maple Leaf home was built before 1978, you should treat lead paint as a real possibility. Ontario doesn’t generally require permits for painting, but best practice is to test for lead before sanding, scraping, or dry removal. A professional contractor should plan lead-safe work if testing indicates lead is present—using wet methods to minimize dust, HEPA vacuuming, and correct disposal of debris. This can add time to the job, which is why older homes often land toward the higher end of repaint budgets after prep. If you’re repainting trim, railings, windows, or any areas where older paint is failing, ask the contractor about their lead-safe procedures and whether they’ll include them in the written scope and pricing.
How long does it take to paint a house?
For a Maple Leaf project, “how long” depends on whether you’re painting interiors, exteriors, or both—and how much prep is needed. Interiors are usually faster because there’s no temperature-driven curing window; a whole-home interior can commonly take about 5–10 days for walls, ceilings, and trim, assuming normal access and patching needs. Exterior timelines are more variable: contractors typically target late May to June and then around September to mid-October, and the job is often staged over 1–3 weeks due to drying windows and weather. If prep is heavy on older siding or trim, the schedule stretches because sanding, scraping, caulking, and priming must be completed thoroughly before topcoats. A clear written timeline is one of the best indicators of a well-managed quote.
What's the difference between paint quality tiers?
Paint quality tiers mainly affect coverage, durability, and how evenly the colour lays down—especially on trim and where surfaces get frequent touch. Contractor-grade products can be very solid when paired with good prep and the correct primer, but premium systems (often sold by major brands such as Benjamin Moore or Sherwin) frequently provide better hiding power and a more consistent finish film, which can reduce the risk of flashing or early scuffing. That said, in Maple Leaf, prep is the foundation: if surfaces aren’t scraped, sanded, cleaned, and primed correctly, switching paint tiers won’t prevent peeling. In practice, quality tier usually shows up as a material cost difference, and it can move a project within the same overall range—interior per room work might stay in the $400 – $1,500 band, while full prep-heavy exteriors often land closer to the $3,000 – $8,000 band.
How do I compare painting quotes?
Compare quotes the way you’d compare insurance policies: scope first, then price. In Maple Leaf, ask every contractor to write down the same items—surface prep (scraping, sanding, patching, caulking), primer requirements, number of coats, and which sheen is used on each surface. Confirm whether materials are included (paint, primer, patch products) and whether cleanup/disposal is part of the agreement. For exteriors, compare how they plan around the GTA’s short season: application and curing require conditions above about 10°C, and June–August demand can raise rates by roughly 10–15%. Also watch for quotes that look cheap because they omit trim work or reduce coats. A legitimate difference might be justified—like premium coatings or additional repair hours—but you should be able to point to where the cost comes from.
What paint sheen should I use in different rooms?
In Ontario homes, sheen selection is about balancing cleanability with the ability to hide wall imperfections. Flat or matte is often best for ceilings and low-traffic areas where you want to minimize sheen glare, but it’s less forgiving on scuffs. EggshelI is a common, homeowner-friendly choice for living rooms and bedrooms because it cleans better than flat while still being relatively forgiving. For kitchens, hallways, and high-touch areas, satin or eggshell usually performs better because it wipes down more easily. Trim, doors, and railings are typically finished with semi-gloss or gloss for durability and easy cleaning. If you’re repainting older walls, correct patching and priming still matter as much as sheen—otherwise even the right sheen can show patch lines or flashing.
Can I paint my house exterior in spring or fall in Maple Leaf?
Yes—spring and fall can work well in Maple Leaf, and many contractors prefer the shoulder season for scheduling flexibility. The key is temperature and drying time: the GTA exterior window is often late May to early October, when temperatures stay above about 10°C for proper application and curing. Fall usually offers calmer humidity compared with midsummer’s peak demand, but you still need enough time between coats and for weather to stay stable. Spring can be successful if the siding and trim are fully dry and you can maintain curing conditions for 24–48 hours after application. If rain or cold snaps arrive, delays can increase labour time, so build in scheduling contingency. For a larger exterior, planning within the expected season helps you avoid the “rush repaint” that can lead to poorer adhesion.