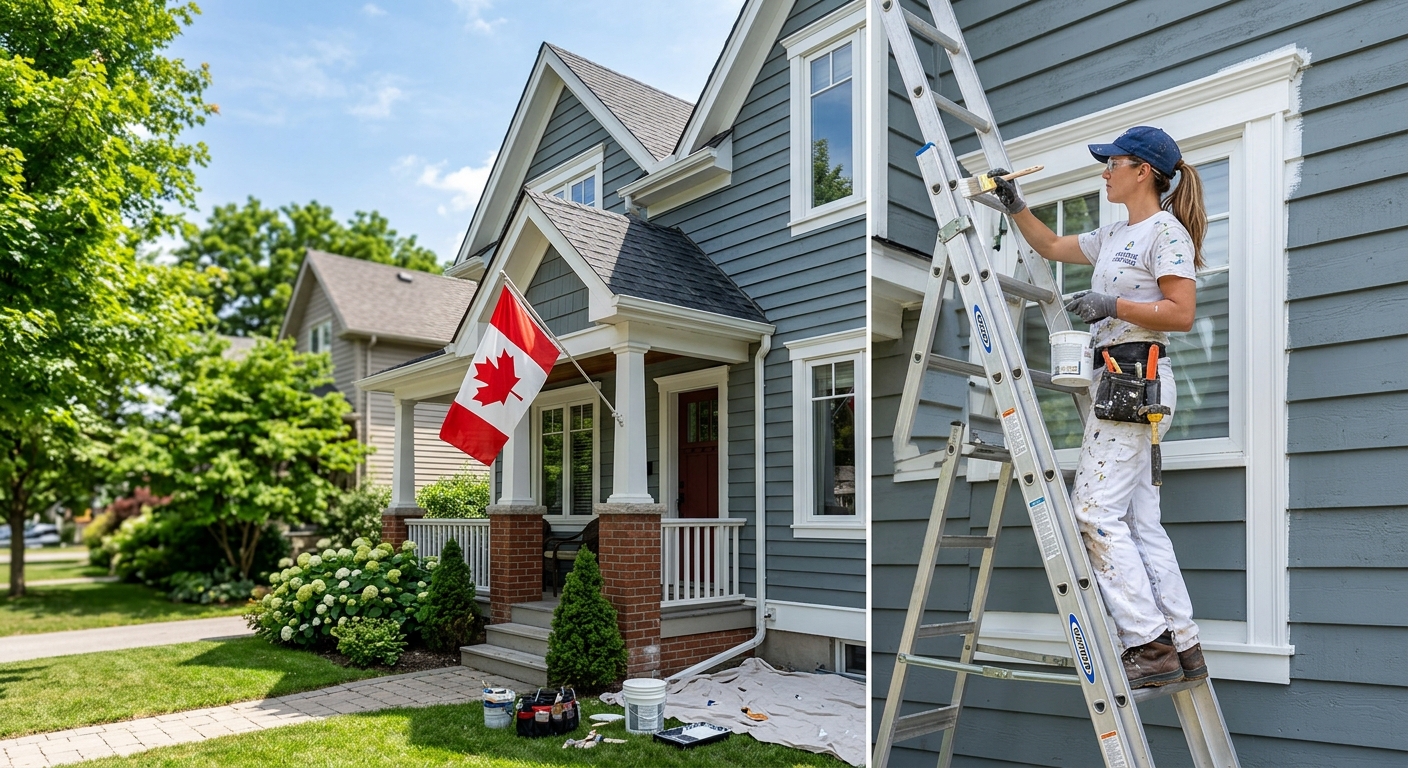
Painting options and costs in Junction Area
In Junction Area, Ontario, you’ll see painting options priced within a broad range because homes and finishes vary a lot—even when the work looks “similar” at first glance. For example, Toronto has a sizeable older housing base; across Ontario, that often means more time for scraping, caulking, patching and priming to build a clean, stable surface before any colour goes on. In the Junction Area profile, the neighbourhood’s population is 14,366 (Statistics Canada, 2021 Census), which correlates with steady contractor demand year-round for interiors and a concentrated push for exteriors when weather cooperates.
Exterior painting costs in the Greater Toronto Area are tightly linked to a short season. Typically, contractors aim to start in late May through June and then again from September to mid-October, when temperatures stay above about 10°C for proper application and curing. In June–August, demand is high and the best “ideal” windows are limited, so pricing often lands 10–15% higher than the slower shoulder months. Pre-1980 homes also tend to have more paint layers and tighter trim details—extra labour that shows up in prep, not just in the paint bucket.
Below are realistic homeowner price ranges for common scopes in Junction Area, including options that can help you control budget without sacrificing durability. Use this as a starting point, then compare quotes side-by-side in the table and ask for a written breakdown of prep, coats and materials.
| Service |
What's Included |
Typical Duration |
Price Range |
| Interior — whole home (walls, ceilings, trim) |
Surface prep (patch/sand/spot prime as needed), 2-coat wall/ceiling system, caulking, sanding trim edges, clean-up and protection; includes basic trim painting where accessible |
5–12 days |
$1,800–$6,000 |
| Interior — per room (standard bedroom or living room) |
Prep for that room, 2-coat walls, ceiling spot or full as specified, optional trim painting for door frames/baseboards if included |
1–3 days |
$400–$1,200 |
| Exterior — full house (siding, trim, soffits) |
Power wash, scrape/sand loose coating, patch caulk/repair as needed, prime bare wood/repairs, caulk where required, 2-coat exterior finish |
1–3 weeks |
$3,500–$8,000 |
| Exterior — trim and accent colours only |
Prep and prime for trim/accents, targeted sanding/scraping, caulking for joints, 2-coat trim system while maintaining existing siding |
4–8 days |
$1,500–$4,500 |
| Kitchen cabinet painting (doors, frames, spray finish) |
Degrease, sand degloss, repair/sand as needed, primer, spray application or high-detail finish, hardware handling (as specified), reinstall and touch-ups |
5–12 days (incl. curing time) |
$1,800–$4,000 |
| Specialty / faux finish (accent wall, texture) |
Surface preparation to smooth base, technique application (rag/colour wash/textured system), sealing appropriate for the room, protection and clean-up |
1–5 days |
$300–$5,000 |
Prices are estimates only and vary by project scope, site access and material selection.
What affects the price of painting in Junction Area
In Junction Area, it’s common to see quotes for the “same” job vary by 30–50% across Toronto and Ontario because painting is labour-heavy. Two contractors can propose the same colour and sheen but still allocate very different time for surface preparation, patching, priming, and detailing work that affects adhesion and longevity. That labour variance is amplified on older pre-1980 homes, where you often find multiple paint layers, uneven trim edges and more caulking points that need removal and re-sealing. On repainting jobs, surface prep can represent 50–70% of the total labour—so when prep is under-estimated, the quote ends up artificially low.
Exterior painting is also season-bound. In the Greater Toronto Area, the window for exterior work is roughly late May to early October, with temperatures generally above 10°C for application and curing. When ideal weeks are limited, contractors concentrate crews and pricing rises—especially in June–August. By contrast, coastal BC often deals with persistent dampness and mildew risk, which changes coating selection and timing; the GTA’s main constraints are frost, rain and humidity spikes rather than year-round moisture. You still pay for weather-fit scheduling, because a rain delay can push cure time and extend labour days.
Concrete examples from Junction Area: (1) a full exterior repaint on older siding can jump from an “accessible” $3,500 band to the upper range when multiple sections require sanding back to sound material and extra primer. (2) interior projects with trim and ceilings can move from a basic $400–$1,200 per-room range toward $1,200+ when ceilings need repair sanding and trim needs additional caulk and feathering. If you choose premium coatings or designer colours, the paint line item rises, but the biggest swings almost always come from prep scope and access.
| Price Factor |
Why It Matters |
Cost Impact |
| Surface prep — scraping, sanding, patching drywall or wood |
Adhesion depends on sound substrate; prep repairs prevent peeling, bubbling and flashing |
+15% to +45% on repaints if discovered issues are extensive |
| Number of coats — 2-coat system over primer vs. 1 coat over existing |
Correct coat count improves hide, uniformity and washability—especially over mismatched prior colours |
+10% to +30% depending on how much primer/spot priming is required |
| Paint quality tier — contractor-grade vs. premium (Benjamin Moore, Sherwin) |
Higher-tier products often level better and resist staining; they can reduce touch-ups |
Materials +5% to +20% (labour savings vary by surface condition) |
| Ceilings and trim — adds significant time vs. walls-only |
Ceilings require careful edging/roller technique and mask/containment; trim needs detailed caulking and smoothing |
+20% to +60% when included with trim/entire ceiling coverage |
| Exterior season window — short season raises summer rates |
Limited “ideal” weather concentrates demand and can cause scheduling pressure |
Typically +10% to +15% in June–August for exterior |
| Lead-safe precautions — required for pre-1978 homes with lead paint |
Lead-safe controls add set-up time (containment, HEPA vacuuming, disposal procedures) |
+5% to +25% depending on scope and risk findings |
| Surface material — drywall vs. plaster vs. wood vs. stucco |
Different substrates require different primers and prep methods for stability and bonding |
+10% to +40% when switching from smooth drywall to textured/plaster/wood |
| Height and access — multi-storey exterior requires scaffolding or lifts |
Access affects set-up time, safety, and labour hours; it also increases masking/protection work |
+15% to +60% for multi-storey or tight-access properties |
Permits & regulations in Ontario
In Ontario, painting typically does not require a permit for a homeowner to have work done, and contractors generally don’t “pull a painting permit” the way they might for structural or electrical work. The main regulatory/health focus is lead safety for older homes. Health guidelines recommend that for homes built before 1978, you test for lead paint before sanding, scraping or other disruptive prep. If lead is present, lead-safe work practices are the standard approach: wet methods to reduce dust, HEPA vacuuming, proper containment and proper disposal. Homeowners are not legally mandated to follow a specific lead program, but professionals use these controls because they reduce dust exposure and help prevent spreading contaminated debris through the home.
For contractor accountability in Junction Area, always confirm two things: (1) liability insurance and (2) workers’ compensation coverage (WSIB in Ontario). Step-by-step, you can verify this by checking the contractor’s documentation before work starts—ask for current certificates and confirm names, addresses and effective dates. Then, review their written contract. A solid contract lists the paint brand and finish (sheen), number of coats, prep tasks included (scrape/sand/prime/caulk), surface conditions assumed, and disposal/mopping/clean-up responsibilities. Make sure exclusions are explicit—especially for rotten wood repairs or hidden plaster/drywall issues.
Finally, ask for proof of coverage and confirm whether any sub-contractors are used. If you’re not given documents up front, that’s a major red flag.
Interior vs exterior painting — getting the best result in Junction Area
In Junction Area, Ontario’s freeze–thaw cycle and summer humidity mean the best results come from doing the right prep for the surface, not from chasing a premium brand alone. For interiors, premature failures usually show up as peeling around moisture-prone spots, flashing between patch areas and uneven sheen. The reliable recipe is filling and sanding to a smooth, stable surface, then priming where you’ve exposed new drywall/wood or where stains bleed. In practice, two coats over a proper primer outlast a “one thick coat” approach every time—because coverage and uniform film build matter.
Sheen choice is also durability: flat/eggshell is common on ceilings and low-traffic wall areas, but higher-traffic zones benefit from eggshell or satin for better cleanability. Trim and doors typically need semi-gloss or satin to resist scuffs. For exteriors, Ontario’s biggest failure cause is water getting behind coatings at caulk joints, trim edges and transitions. That’s why caulking before painting matters—repair the joints, let sealants cure, then paint. Primer type must match the substrate: wood and previously bare areas need the correct primer for bonding; previously painted surfaces need compatibility. Unlike BC, where mildew-resistance and persistent dampness change product decisions, the GTA’s emphasis is temperature stability, correct drying/curing windows and rain management.
Cabinet painting can be a smarter budget alternative to replacement when existing boxes are sound. As a rough example, moving from cabinet painting at the $1,800–$4,000 band to replacing with new units can easily run several times higher; the “savings” only hold if preparation includes degreasing, sanding and priming to prevent peeling.
| Project Type |
Key Prep Step |
Recommended Coats |
Price Band |
| Interior — fresh drywall (new construction) |
Seal + prime drywall thoroughly to prevent uneven absorption (and flashing) |
2 coats topcoat (over primer as specified) |
$800–$3,000 |
| Interior — repaint (good condition, no repairs) |
Light scuff/sand, clean, spot-prime any marks |
2 coats topcoat (spot-prime as needed) |
$400–$2,000 |
| Interior — repaint (patching and priming needed) |
Patch drywall/plaster, sand smooth, prime repairs before colour |
2 coats topcoat (repairs primed + feathered) |
$700–$3,200 |
| Exterior siding (wood or fibre cement) |
Scrape/sand loose coating, wash, prime bare spots, caulk joints |
2 coats exterior finish (over primer where required) |
$3,500–$8,000 |
| Exterior trim and accents only |
Detail prep of trim edges, caulk, prime bare/failed spots |
2 coats finish |
$1,500–$4,500 |
| Kitchen cabinets (spray finish) |
Degrease and degloss, sand, prime for adhesion, then spray topcoat |
2 coats topcoat (with correct primer) |
$1,800–$4,000 |
How to choose a painting contractor in Junction Area
Choosing the right contractor in Junction Area means checking credentials before you ever discuss colour. First, verify Ontario coverage basics: request the contractor’s Ontario business information (if applicable), current liability insurance certificate and WSIB workers’ compensation coverage. How to check: (1) ask for a certificate of insurance showing the insured business name, address and effective dates; (2) request WSIB clearance/coverage confirmation or documentation that matches the company that will be working on your site; (3) confirm any subcontractors are also covered for their scope. If they can’t provide documents promptly, that’s your answer.
Next, get 2–3 itemised written quotes. Don’t accept a single lump sum without a line-by-line scope for prep, priming, coats, masking/protection and clean-up. For exterior work, ask whether power washing, scrape/sand, caulking and disposal are included, and whether they’ll address lead-safe controls for pre-1978 areas if applicable. For interiors, confirm whether ceilings and trim are included or “extra.”
Warranty matters: look for a workmanship warranty length that covers defects like peeling or adhesion failure under normal conditions, and clarify whether the manufacturer warranty depends on using approved products and surface prep. Payment schedule should be conservative—never pay more than 10–15% upfront. Hold back a portion until the job is complete and touch-ups are finished.
Finally, insist on a timeline in writing: an expected start date, weather-dependent exterior milestones, and an estimated completion date.
- Ask for liability insurance and verify policy effective dates and named insured.
- Confirm WSIB coverage for the painting contractor and any subcontractors.
- Get quotes with labour + materials listed separately.
- Confirm prep scope: scrape/sand level, patching approach, and whether primer is included.
- Specify number of coats and the paint brand/finish in the contract.
- Clarify caulking inclusion (exterior joints and window/trim edges).
- Ask who handles disposal and jobsite clean-up (daily and final).
- Confirm whether furniture moving/masking is included for interiors.
- Review warranty details in writing (workmanship and any transferability).
- Use a payment schedule that holds back funds until completion and touch-ups.
- Require a written start date and completion estimate—especially for exterior seasonality.
- Ask for a site visit and moisture/condition assessment before pricing.
In Junction Area, typical red flags include: quoting exterior work without discussing weather windows; under-stating prep (e.g., “no primer needed”); offering only a lump-sum number with no scope breakdown; requesting a large upfront deposit beyond 10–15%; and skipping proof of WSIB/liability coverage or refusing to put warranty terms in writing.
Frequently asked questions — painting in Junction Area
What paint sheen should I use in different rooms?
For Junction Area homes, sheen selection is about cleanability in Ontario living conditions and daily wear. Ceilings are usually flat or matte to hide imperfections and reduce glare. For walls, eggshell is a common compromise: it resists scuffs better than flat and still looks smooth. High-traffic areas like hallways, kids’ rooms and family rooms often do best with satin or a washable eggshell, because it tolerates regular cleaning without looking shiny. Kitchens and bathrooms usually benefit from a more durable, washable finish (often satin/eggshell), but you still need good prep and correct product choice for moisture exposure. Trim and doors typically use semi-gloss or satin for toughness. If you’re budgeting, sheen changes don’t usually drive total cost as much as prep and the number of coats—those are what keep the paint looking uniform for years (Statistics Canada, 2021 Census).
Can I paint my house exterior in spring or fall in Junction Area?
Yes—spring and fall can both work in Junction Area, Ontario, but timing is everything. Exterior work is usually most successful from late May through June and again from September to mid-October, when temperatures are consistently above about 10°C and curing can happen over 24–48 hours. If it’s too cold, rain can delay drying and adhesion, leading to soft film or premature failure. Spring can be great once freeze-risk has passed and rain schedules allow, but you should still expect some weather-dependent adjustments. Contractors may price shoulder-season work differently from peak summer; June–August demand can push exterior pricing higher (often 10–15%). If your scope is trim-only, it’s often easier to schedule around weather than a full house repaint, which aligns with the $1,500–$4,500 and $3,500–$8,000 bands respectively.
How do I choose a painting contractor in Junction Area?
Start by verifying credentials: in Ontario, ask for current liability insurance documentation and WSIB coverage confirmation (for the contractor and any subcontractors). Then require a written, itemised quote with scope details—labour and materials separated, including prep, priming, caulking, number of coats and clean-up/disposal. In Junction Area, preparation time is often where costs rise, especially for older pre-1980 homes that need more scraping and patching. A good contractor will walk you through substrate condition and explain whether lead-safe practices are recommended for pre-1978 areas before sanding or scraping. Get at least 2–3 quotes and compare them on what’s included, not just the final total. Finally, insist on a clear workmanship warranty and a conservative payment schedule (10–15% upfront max), with a written timeline and start/completion estimates.
How many coats does an exterior repaint need in Junction Area?
Most Junction Area exterior repaints require a 2-coat system: primer where needed (bare wood, patched areas, failed coatings) followed by two full coats of exterior finish. The exact primer requirement depends on the existing coating condition and substrate—if contractors only apply paint “over whatever’s there,” you may see flashing, inconsistent colour, or early peeling where adhesion is weak. Two coats matter for uniformity and durability under GTA conditions like humidity spikes and rain events. If the house has significant bare spots, repaired trim edges or major chalking, the prep and primer time increases even though the number of topcoat coats usually stays two. That’s why it’s normal to see exterior pricing cluster into the $3,500–$8,000 range for full-house work and $1,500–$4,500 for trim and accents only. A careful prep plan is often more important than chasing a specific brand.
What is the best primer for older Junction Area homes?
For older Junction Area homes (especially pre-1978 areas), the “best” primer is the one that matches the substrate and the condition of what’s already there—primer selection is not one-size-fits-all. Contractors typically use primers to improve adhesion, block staining, and create a uniform surface for the topcoat. For areas with bare wood or repaired sections, a bonding primer is common; for stain-blocking needs, an appropriate stain-blocking primer helps prevent tannins and marks bleeding through. If lead paint is a concern, the primer discussion should come after lead-safe assessment—disruptive prep should be controlled if lead is present. In practice, you’ll get the best long-term result when primer is included in the scope for repaired and scraped areas rather than applied “only if we remember.” That prep/primer structure is a key reason exterior repaint quotes in the $3,500–$8,000 band aren’t just paint cost—they’re time and correct coating build-up.
Should I paint or wallpaper my Junction Area home?
In Junction Area and across Ontario, painting is usually the safer, lower-risk choice for most rooms because it’s faster to prep and easier to repair later. Wallpaper can look great, but it demands a consistently smooth, well-prepared base; in older homes with patchy drywall, uneven plaster, or hairline cracking, prep time can rise significantly. Painting is also typically more cost-effective when you want a full refresh—especially if you’re aiming for a washable finish in high-traffic areas. If your walls are slightly uneven, wallpaper can exaggerate bumps or show seams depending on product type and installation quality. That said, if you love a specific pattern or texture and the base is in excellent condition, wallpaper can be a premium visual upgrade. If you’re undecided, compare quotes: for interiors, painting often falls within the $400–$6,000 overview band, while wallpaper installation can create cost surprises if wall corrections are needed.